

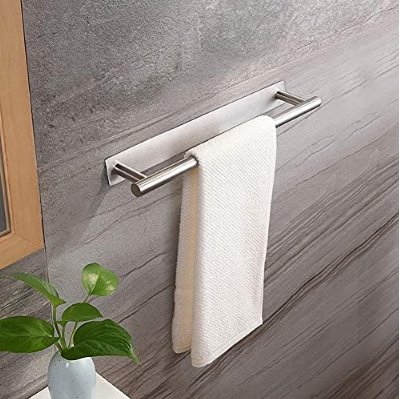
Installing a towel rail may sound tricky, especially on tiles. But with the right tools and a bit of care, it’s a simple DIY home improvement job you can do in under an hour. This guide will walk you through each step using basic tools, tile-safe methods, and tell exactly how to install towel rail on tiles.
Tools Needed:
- Drill (no hammer mode)
- Masonry or tile drill bit
- Masking tape
- Wall plugs & screws
- Screwdriver
- Allen key
- Spirit level
- Tape measure
- Hammer (optional)
How to Install towel rail on tiles without drilling?
If you don’t want to drill into tiles, you can still install a towel rail. Some towel rails come with strong adhesive backs or suction cups. These work well on smooth porcelain tile walls. Products like 3M adhesive strips or heavy-duty glue can help you install a towel rack without tools.
But remember:
- They don’t hold as much weight as screwed-in rails.
- Not ideal if you’re hanging large, wet towels.
If you want something stronger or you’re doing a full bathroom renovation, drilling is best.
How to drill ceramic tiles without cracking them
To avoid cracks, follow these safety steps before installing your towel rail:
1. Measure and mark
Use a tape measure to find the spot for your towel rail. Measure the distance between screw holes on the rail. Mark those spots on the tile wall with a pencil. Use a spirit level to make sure everything is straight.
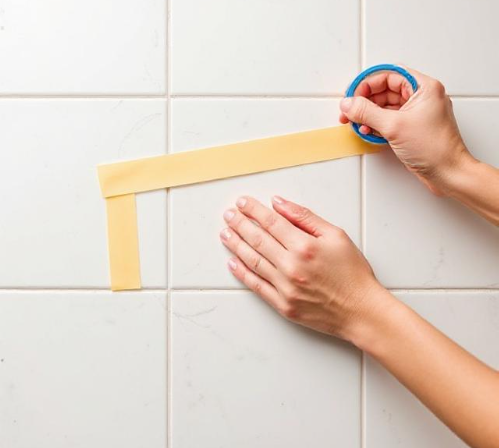
2. Use masking tape on tiles
Place masking tape on the tiles where you marked. This helps the drill bit stay in place and protects the tile from chipping.
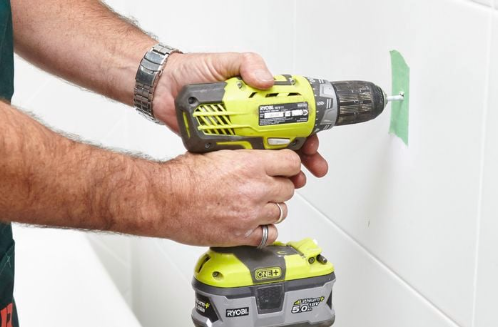
3. Choose the right drill bit
Use a masonry drill bit or one made for ceramic tiles. Don’t use the hammer mode on your drill. Go slow and steady. For tile-safe drilling, you can even spray a little water to cool the drill.
Common tiles used: Ceramic, porcelain, and natural stone tiles. These tips work for all three.
How To Drill & Plug Tiles to Fit Bathroom Fixtures & Fittings
Now it’s time to fit the towel rail.
4. Pre-drill holes into tiles
Drill slowly through the tape and tile. Once you’re past the tile, you can drill a bit deeper into the wall.
5. Insert wall plugs
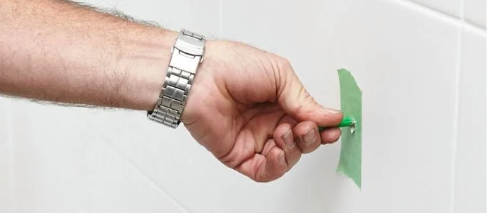
Remove the tape. Push wall plugs into the holes. If they don’t go in easily, tap gently with a hammer.
6. Remove the rail plates
Most towel rails come with small screw plates that attach to the wall. Use the Allen key that came with the towel rail to remove the plates.
7. Screw plates to the wall
Place the plates over the wall plugs and use screws to attach them. Use your drill or a screwdriver.
8. Check everything is level
Use a spirit level to make sure both plates are even. This helps your towel rail sit straight.
9. Attach the towel rail
Slide the towel rail onto the plates. Use the Allen key again to tighten and lock it in place.
10. Final level check
Make one last check with your spirit level. Make small adjustments if needed.
Bonus Tips:
- This guide also works if you want to replace a broken towel rail bar.
- Always double-check your measurements.
- Clean the tiles before drilling or sticking anything.
- Works great for both new bathrooms and during a bathroom renovation.
By following these easy steps, you can confidently install a towel rail on tiles with no cracks or damage.
Final Thought
Installing a towel rail on tiled walls might seem challenging, but with the right tools, techniques, and a bit of patience, it’s an easy weekend project anyone can do. Once you learn how to install towel rail on tilesl, whether with drill-free adhesive options or the traditional method using screws, your bathroom will instantly look neater and more functional. Plus, you’ll get that rewarding feeling of doing it yourself, without damaging your tiles.