

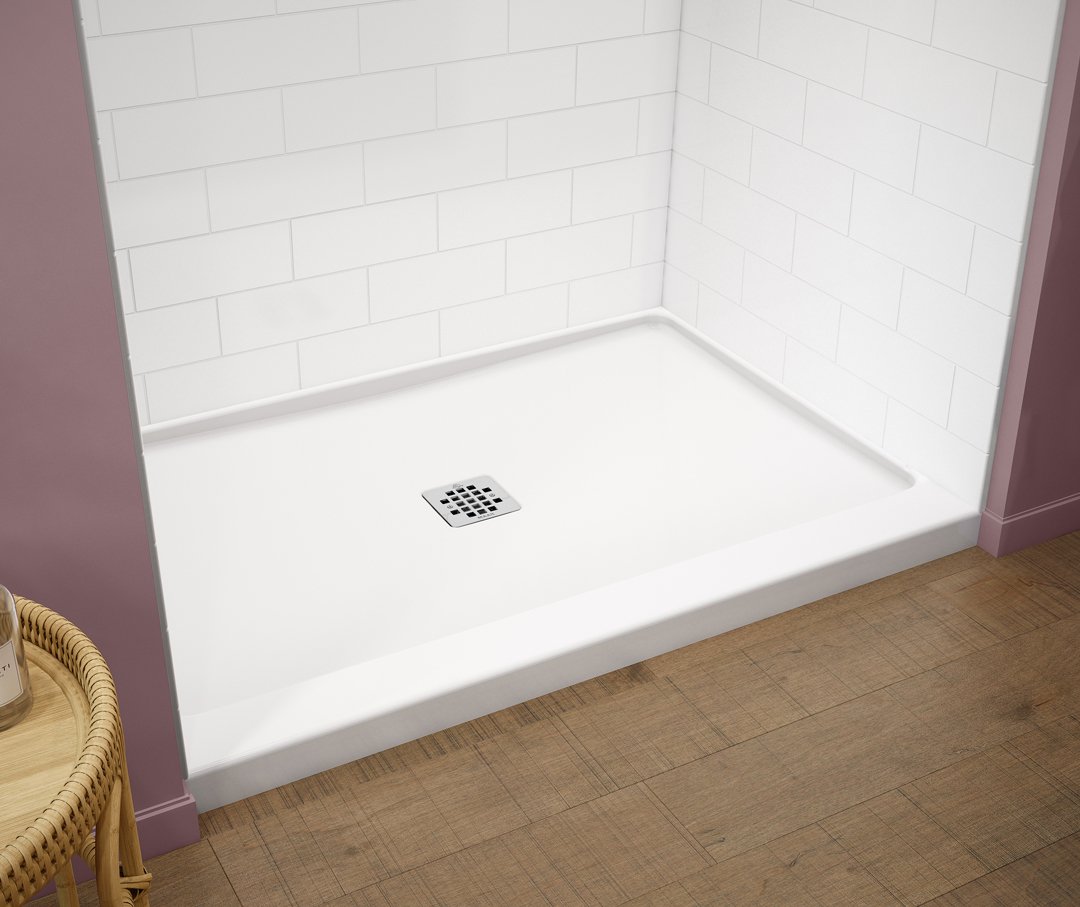
Installing a shower base may sound tricky, but with the right tools and a little guidance, you can do it yourself. This guide is specifically designed for installing a shower base on a concrete floor. This simple guide will walk you through the full process, from cutting the floor to mixing cement and setting your acrylic shower tray in place.
Whether you’re doing a bathroom renovation or replacing an old shower, this step-by-step guide will help you finish the job like a pro. You’ll also learn how to install a shower base on concrete floor and properly connect the shower pan drain.
Tools & Materials You’ll Need
Before you start your DIY shower base installation, gather all your tools and materials to make the job smoother.
Tools:
- Angle grinder
- Battery-powered saw
- Hammer
- Handsaw
- Drill
- Chisel
- Nail gun
- Pencil
- Safety glasses
- Spirit level
- Set square
- Tape measure
- Shovel
- Saw stool
- Dust mask
- Ear muffs
- Wheelbarrow
Materials:
- Shower base (also known as a shower tray)
- Cement
- Brickies sand
- Water
- Concrete floor (no timber subfloor needed)
- Framing timber (for wall studs only)
- Nails
Step-by-Step: How to Install a Shower Base on Concrete Floor
Step 1: Mark the Area for the Shower Base
Place your shower base where you want it to go. Use a pencil to mark the full outline on the floor. Then flip it over and look underneath, this is where the sump (the shower pan drain section) sits.
Measure the length and width of the sump, and add about 20mm extra so it has some wiggle room. Transfer those measurements onto the concrete floor using your spirit level and pencil to mark a square where you’ll be cutting.
Step 2: Cut a Hole in the Concrete for the Drain
Put on your safety gear (glasses, gloves, and ear protection). Use a drill to make holes in the corners of the square you just marked. This makes it easier to cut the concrete.
Use an angle grinder with a concrete cutting disc or a demolition hammer to carefully cut out the section of the concrete floor for the drain sump.
Clear out any debris and ensure the pipe for the shower pan drain is accessible.
This step is essential when learning how to install a concrete shower pan, as proper drain access ensures a leak-free setup.
Step 3: Create Recesses in the Concrete if Needed
Put the shower tray back into place and mark its height on the concrete surface.
If your concrete floor is level and doesn’t require recessing, you can skip this step. But if the tray needs to sit slightly lower, use a concrete grinder or chisel to create a shallow recess where the base will sit snugly.
Step 4: Check the Concrete Floor Is Level
Now it’s time to check how even the concrete surface is. Use your spirit level to check for any dips or high spots in the concrete. Lay it across different spots. If you see gaps under the level or the bubble doesn’t stay centered, you’ll need to level it out with extra cement later.
Step 5: Mix the Cement
To build a solid foundation for your shower base, you’ll need to mix mortar using:
- 3 parts brickies sand
- 1 part cement
Put them in a wheelbarrow and slowly add water while mixing with a shovel. Keep stirring until you get a paste that’s not too thick or too watery. Aim for a peanut-butter-like texture.
This mortar bed is essential on a concrete floor to ensure your shower base sits flat and secure. It’s a key part of how to install a concrete shower pan.
Step 6: Pour the Concrete Bedding
Shovel the mixed cement onto the concrete floor inside the marked shower area. Spread it evenly. Add extra mortar where your earlier checks showed low spots.
Even on a concrete floor, it’s critical to apply a full mortar bed.
This keeps the base from rocking or cracking over time.
If you want to install a shower base with a drain, attach the shower pan drain flange to the base using silicone or plumber’s putty before setting it in mortar.
Make sure it lines up perfectly with your floor drain pipe for a leak-free connection.
Proper alignment of the shower pan drain is crucial for waterproofing when learning how to install a concrete shower pan.
Step 7: Set the Shower Base in Place
Now it’s time to install the shower base! Carefully lower the base into the wet mortar on the concrete. Wiggle it slightly into position and make sure it fits snugly.
Use the spirit level to check all sides. If it’s not level, gently shift the base until it is. Once you’re happy with the position, clean off any cement that squeezes out from the edges using your shovel.
Step 8: Add Nogs for the Wall Lining
To support the shower wall lining, you’ll need to add nogs (short timber pieces) between the wall studs.
Measure the gaps between the studs and cut the nogs to size using your saw. Install them just above the shower base using your nail gun. While the floor is concrete, you’ll still need to prepare wall framing for wall linings or tiles.
If you’re installing a shower base with tile walls, add cement board to the wall studs after the base sets. Seal all seams with waterproofing tape or membrane before starting your tile work.
Pro Tips & Safety Reminders
- Always wear safety gear when cutting or mixing.
- Test-fit everything before pouring cement.
- Use treated timber for framing in wet areas.
- Let the concrete cure fully (at least 24 hours) before continuing with wall waterproofing or tiling.
Wrapping It Up
Installing a shower base on a concrete floor is straightforward if you prep the surface, level it correctly, and set the base on a solid mortar bed. With basic tools, patience, and the right steps, you can save money and feel proud of your DIY skills. This process is a solid guide for anyone learning how to install a concrete shower pan with a secure and level shower pan drain connection. It works great for most modern acrylic shower trays, especially if you’re doing a full bathroom remodel or replacing an old shower.
FAQs
Q#1: Can I install a shower base without mortar?
A: It’s not recommended. Mortar gives the base full support, prevents cracking, and keeps it level.
Q#2: How long does it take to install a shower base?
A: The job usually takes about 3–4 hours, but let the mortar dry overnight before using the shower.
Q#3: What type of shower base should I use?
A: Acrylic shower bases are lightweight, durable, and ideal for most DIY installations.
Q#4: What to put under a shower base on concrete?
A: Use a mortar bed even on concrete. It helps level the base and keeps it from shifting or cracking.
Q#5: Do I need mortar under a shower pan on concrete?
A: Yes. Mortar provides strong, even support and is essential on both concrete and timber floors.
Q#6: What is a shower pan drain and why is it important?
A: A shower pan drain is the central drain assembly under the shower base. Ensuring it aligns and seals correctly is critical to prevent leaks.