

Installing window blinds or shades is one of the most rewarding home improvement projects a homeowner can tackle without hiring a professional. Whether you’re upgrading to cellular shades for better energy efficiency, hanging faux wood blinds for a classic look, or mounting roller shades in a modern living space.
A proper DIY installation saves you money, improves light control and privacy, and adds a finished, polished look to any room. With the right tools, accurate measurements, and a basic understanding of inside mount vs. outside mount installation, most homeowners can complete the job in under 30 minutes per window.
What You’ll Need Before You Start
Tools and Materials
- Measuring tape
- Pencil or painter’s tape for marking
- Power drill or screwdriver
- Level
- Mounting brackets (usually included with your blinds or shades)
- Wall anchors (if drilling into drywall without studs)
- Step stool or ladder
Choosing the Right Blinds or Shades
Before installation, confirm you have the correct product for your window type. Common options include:
- Roller shades – Minimal profile, easy installation, ideal for modern interiors
- Cellular (honeycomb) shades – Best for insulation and energy savings
- Faux wood or real wood blinds – Classic look, durable for kitchens and living rooms
- Roman shades – Elegant fabric option for bedrooms and dining rooms
- Vertical blinds – Standard for sliding glass doors and wide windows

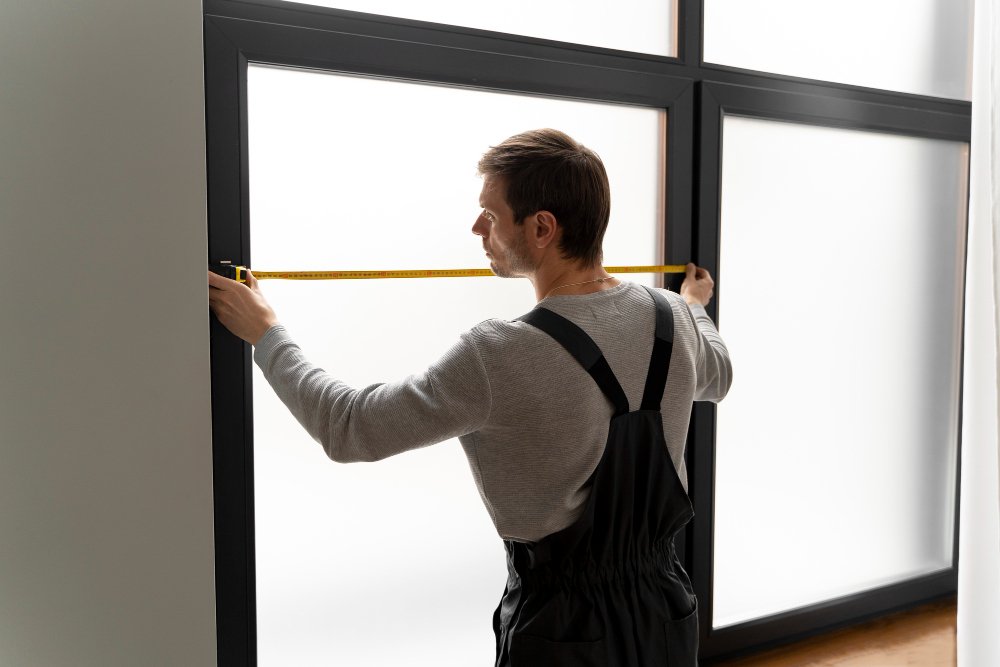
Step 1: Measure Your Window Correctly
Accurate measurement is the single most important step. Errors here lead to gaps, poor fit, and return shipping hassles.
Inside Mount Measurement
An inside mount sits within the window frame for a clean, built-in appearance.
- Width: Measure the inside width of the window frame at the top, middle, and bottom. Use the narrowest measurement.
- Height: Measure from the top of the frame to the sill at the left, center, and right. Use the longest measurement.
Outside Mount Measurement
An outside mount covers the window frame and part of the surrounding wall. It’s ideal for shallow window frames or when you want windows to appear larger.
- Add 2–3 inches to each side of the window width (4–6 inches total).
- Extend the height 3–4 inches above the frame and down to the sill or floor, depending on preference.
Step 2: Choose Inside Mount or Outside Mount
Inside mount creates a streamlined look and works best when your window frame has a minimum depth of 2–3 inches. Check your product’s spec sheet for the exact depth requirement.
Outside mount works on any window depth, hides imperfections around the frame, and lets more light in when the blinds are raised. It’s also the go-to option for windows with obstructions like handles or cranks inside the frame.
Step 3: Install the Mounting Brackets
This is where precision pays off.
For Inside Mount
- Hold a bracket against the top corner of the window frame interior.
- Mark the screw holes with a pencil.
- Pre-drill pilot holes to prevent splitting the wood or cracking the frame.
- Screw the bracket into place. Repeat on the opposite side.
- If a center support bracket is included (common with wider blinds), install it at the midpoint.
For Outside Mount
- Use a level to draw a light horizontal pencil line above the window at your desired height.
- Position brackets at each end of the line, aligning with your width marks.
- If drilling into drywall without studs, insert wall anchors first.
- Screw brackets firmly into place.
Pro Tip: Always use a level when marking outside mount bracket positions. Even a small tilt becomes obvious once the blinds are hung.
Step 4: Attach the Headrail and Test Operation
With brackets secured, the installation is nearly complete.
- Slide or snap the headrail (the top bar of your blinds or shade) into the mounting brackets. Most systems click into place with firm pressure.
- Secure any locking tabs or end caps as directed by your manufacturer’s instructions.
- Attach the valance or fascia cover if included — this snaps onto the front of the headrail to hide hardware.
- Lower and raise the blinds several times to confirm smooth operation.
- For corded blinds, verify the cord moves freely and the lift mechanism is even.
- For cordless or motorized shades, test the spring tension or remote pairing per the manufacturer’s guide.
Step 5: Final Adjustments and Safety Checks
- Tilt the slats (for horizontal blinds) to confirm full light control from open to closed.
- Check the level one more time — minor adjustments can be made by slightly repositioning the bracket screws.
- Secure loose cords out of reach of children and pets. The Window Covering Safety Council (WCSC) recommends cordless or motorized options in homes with young children to reduce strangulation hazards.
- Install cord cleats at least 60 inches off the floor if corded blinds are used in homes with children.
Common DIY Blind Installation Mistakes to Avoid
Getting the installation right the first time saves frustration. Watch out for these frequent errors:
- Skipping pilot holes — can crack wood frames or strip screws in soft materials
- Not checking frame depth before ordering inside mount blinds
- Measuring only once — always measure twice, order once
- Ignoring the center support bracket — skipping it on wide blinds causes sagging and uneven operation
- Mounting too close to the window glass — leave at least ½ inch clearance for inside mounts

FAQ: People Also Ask
How long does it take to install blinds yourself?
Most single-window blind installations take 15–30 minutes once you have all tools ready. A full room with multiple windows typically takes 1–2 hours for a first-time DIYer.
Do I need special tools to install window blinds?
No specialized tools are required. A measuring tape, pencil, power drill (or hand screwdriver), and a level are sufficient for the majority of blind and shade installations.
Can I install blinds without drilling?
Yes. Tension rod blinds, adhesive mounting strips, and no-drill brackets are available options for renters or windows where drilling is not practical. These work best with lightweight roller shades or lightweight cellular shades.
What is the standard deduction for inside mount blinds?
Most manufacturers apply a 3/8-inch deduction from your measured width to ensure a proper fit inside the frame. Always confirm with the specific brand before ordering, as deductions vary.
How do I know if my window is square?
Measure diagonally from corner to corner in both directions. If both diagonal measurements are equal, the window is square. If not, use the smallest width measurement when ordering to ensure the blind fits at every point.
Should blinds touch the window sill?
For inside mount blinds, the bottom rail should sit just at or just above the sill for a clean look. For outside mount installations with a full coverage look, the shade can extend to or past the sill — personal preference and style guide this decision.
What type of blinds are easiest to install for beginners?
Roller shades and cordless cellular shades are widely considered the easiest for first-time DIYers. They have fewer components, simple snap-in brackets, and clear manufacturer instructions. Most major brands like Bali, Levolor, and Budget Blinds include detailed installation guides in the box.
Final Thoughts
Installing blinds or shades yourself is a practical, cost-effective home improvement project that most homeowners can complete with basic tools and a little patience. The keys to success are accurate measurements, choosing the right mount type for your window, and following the step-by-step bracket and headrail installation process carefully. Whether you’re outfitting a single bedroom or refreshing every window in the house, this guide gives you everything you need to get it done right the first time.